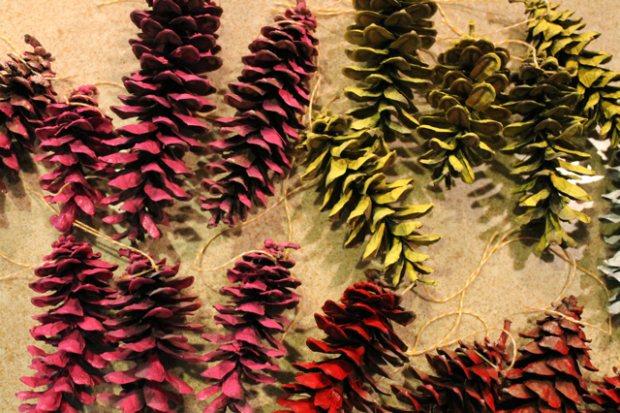
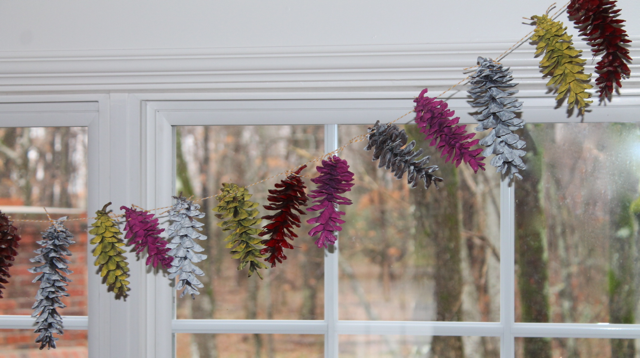
Once the Christmas decorations are down, I love how spacious and clean my house feels, but I miss the sparkly and festive touches that greenery and twinkling lights bring to our rooms. This week we added a funky painted pine cone garland – it sure perks up the view on a dreary winter day!
Decorating with natural materials is great because they are plentiful, easy to collect, cost nothing and are disposable – just use then toss – no need to store. I love the natural colors that nature provides, but sometimes it’s fun to step it up a notch – especially when everything outside is brown and gray right now! These painted pine cones almost look candy coated to me!
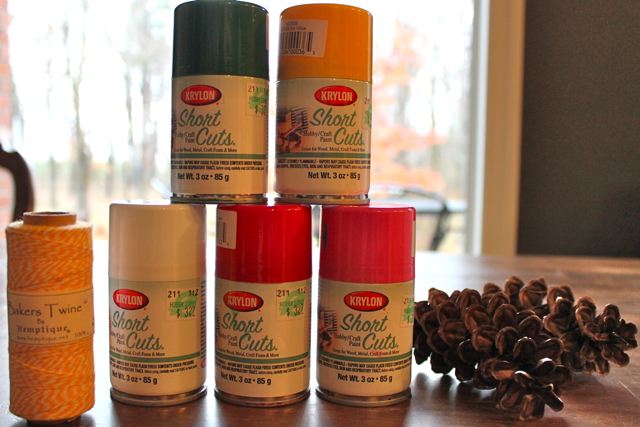
Spray paint has the power to transform almost anything and one of the best features of using spray paint is that it dries almost immediately which means it’s perfect for last-minute, spontaneous projects! I found these great tiny cans at Hobby Lobby and at 50% off they were less than $2 each. All you need are pine cones, paint and twine. Let’s do it!
Painted Pine Cone Garland
Gather pine cones and clean off needles. Line them on an old sheet and start spray painting. I sprayed them directly on the sheet, I didn’t try to hold them and rotate. Once I had painted all the pine cones on one side, they were dry and ready to be flipped over. Paint second side. Once dry you can touch up missed spots or paint the underside of the cones if you want fuller paint coverage.
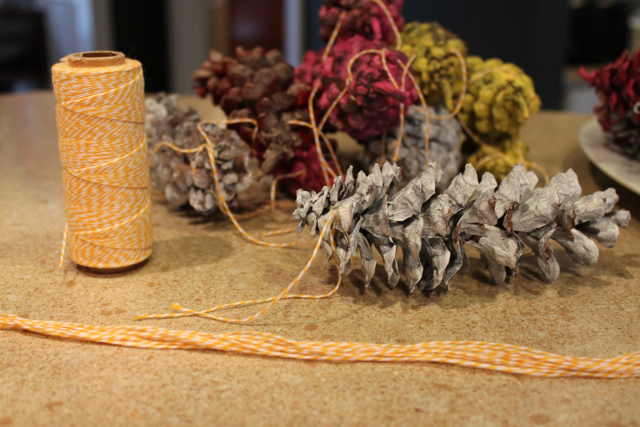
Cut baker’s twine into 6-8 inch long pieces, 1 for each pine cone. Tie twine around pine cones about 1/2 inch from the top, double knotting twine. Repeat with all pine cones. When all pine cones are tied with twine, clear a spot to begin attaching them to create garland.
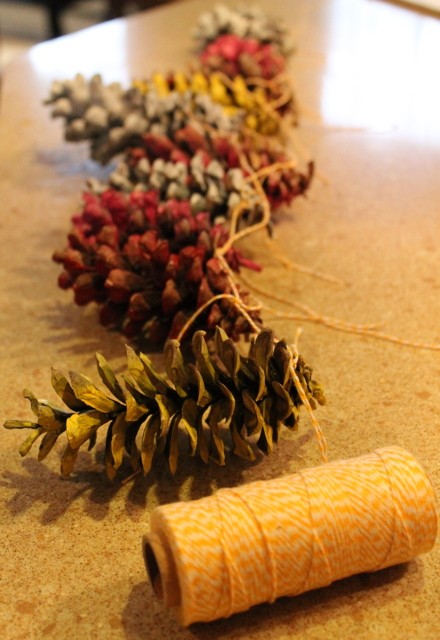
Unwind twine, leaving about 12″ before beginning to attach pine cones. Tie pine cones onto twine in a pattern or in a random order using a triple knot to hold it securely in place. Spacing cones about 3″ apart, continue tying them onto twine and creating your garland. Once all pine cones are attached, leave about a 12″ tail and cut twine from roll. You can choose to leave or trim the ends of all the pine cone ties.
We hammered brass nailhead tacks to the top of the window molding to tie up our garland… and I have a feeling we’ll be leaving the tacks and coming up with another festive garland once spring arrives!
post and pictures by Sunshine

